Hi Friends,
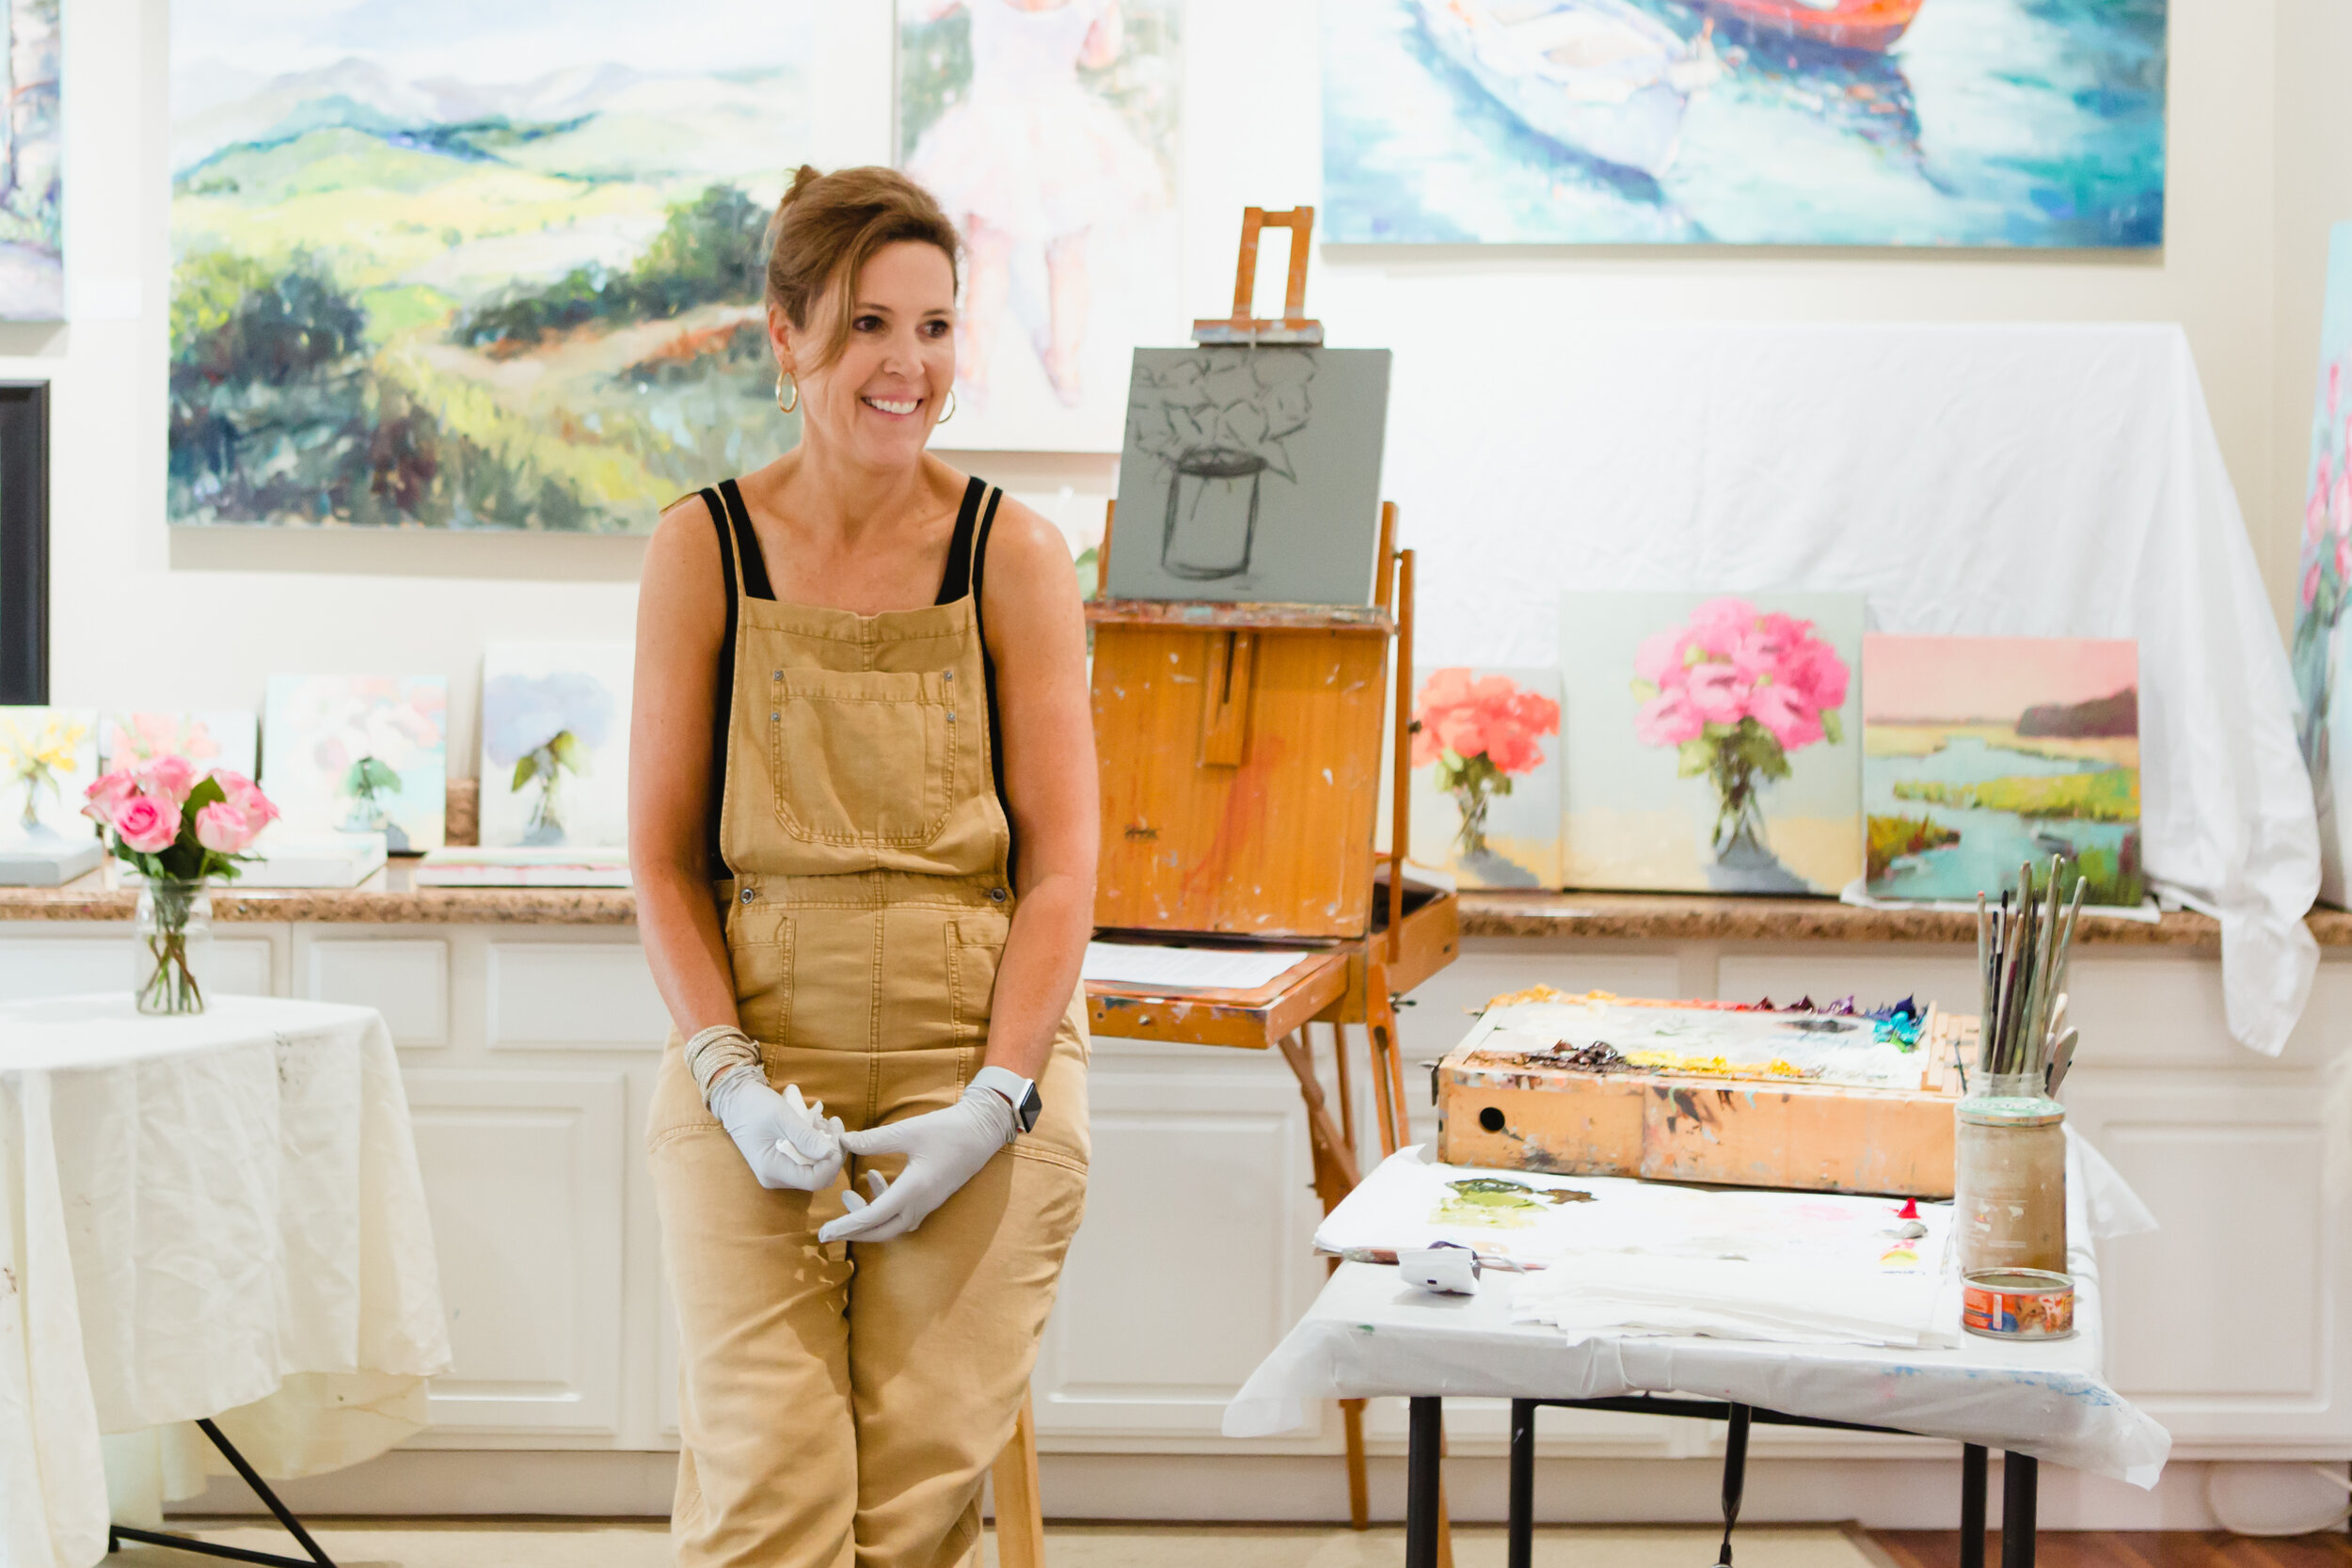
I hope everyone is safe and healthy during this crazy time. I am grateful to be healthy and have been enjoying lots of time in the studio. I started my new Virtual Live Workshop about three weeks ago and I am loving it! The first 3 videos are available to replay on Facebook.
Here's What You Need to Know:
When:
Tuesday May 5th at 1:00pm. This will be session 4. Replays are available through my new Facebook Group, Angela's Color Story. I will be working on a Still Life, Oil and Acrylic Welcome!
Where:
Main Feed:
Facebook: Join my private group- Angela’s Color Story.
This is where all interaction will take place. All resources will also be posted here, not on Instagram.
Secondary Feed:
Instagram: @angelanesbitfineart
Let me know if you have any questions! Come Paint with Me!!
Best,
Angela
Your Marble Jar
There is a great metaphorical story in Brené Brown’s book Daring Greatly using a Marble Jar to build trust in relationships. She tells a great story of her daughter’s teacher who kept a jar in the classroom and each time the class did something positive a marble went in the jar. Conversely, when the class veered into the land of negatives, marbles were removed. When listening to this story I thought about my art. For all Creatives, the Marble Jar can represent all of our inspiration and creative ideas. We take from this jar daily as we head to the studio. All the ideas and energy we expend on all of our wonderful paintings deplete our jar. Not to mention all of our frustrations and self-doubt that join us from time to time. We do this day after day and wonder why we are burned out and our creativity has left the building at times. Then we go on a vacation or some other inspiring adventure and come back and most of the time our creativity and zest are back. Think of our time away from the easel as time to fill our Marble Jars but don’t wait until you are burned out and need a big vacation, do this regularly. There are so many ways to fill our jar. Overall, just do things you enjoy. Take time to slow down and recharge. I typically recharge best spending time outdoors. It is amazing how much more inspired you can be when you get back to the studio. Join us in my new Facebook Group for Creatives - Angela’s Color Story and share how you are keeping your Marble Jar full!
Honoring Spring With Mixing Green
In honor of St. Patrick’s Day and the Spring Equinox, I am doing a series of “How to Mix Green” videos. I start the series exploring St. Patrick’s Day Green, which is a bright spring green.
1. Spring Green - Cerulean & Cad Yellow Light - Phtalo Turquoise & Lemon Yellow
How do we decide which yellow and which blue to use for a Spring Green? Starting with the yellow, we look for a bright clean green, so the best yellow will lean towards green on the color wheel and are also considered cool yellows. A few cool yellow choices might be:
Lemon Yellow
Hansa Yellow
Cadmium Yellow Light or Pale
Our blue needs to be a nice clean blue that also leans towards green on the color wheel. A few green blues to choose from are:
Prussian
Cerulean
Phalo
Pthalo Turquoise
Turquoise
Of course if any of these greens have too much spring in them, then you can neutralize them by adding red (the compliment). I use Burnt Sienna a lot as my red to neutralize greens.
2. Mixing Greens Using Ultramarine Blue:
Mixing greens using Ultramarine Blue leans towards a more natural grayed down green by nature, because the Ultramarine Blue leans towards red with is the compliment of green.
In this video I use the following yellows to see what greens I get. Watch to see how different these greens are.
Cad Lemon
Cad Yellow Light
Cad Yellow Medium
Yellow Ochre
3. My Go To Greens
My palette tends towards more natural grayed down greens most of the time. These formulas are where I usually start and then I can manipulate them as needed depending on what I am painting. Note that I used Burnt Sienna by WInsor Newton specifically.
Light Natural Green: Ultramarine Blue + Cad Yellow Light + Burnt Sienna (a tad) + White
Mid-Tone Natural Green: Ultramarine Blue + Cad Yellow Medium + Burnt Sienna (a tad) + White
Dark Natural Green: Ultramarine Blue + Cad Yellow Deep + Burnt Sienna (a tad)
4. Tube Greens
I believe that everyone should be skilled at mixing and understanding greens from scratch before using tube greens. So, take some time to explore all your blue and yellow choices and make some color charts. I also understand having some short-cuts to speed up our mixing time. However, I am not willing to sacrifice the quality of the color. There are only a few Tube Greens I feel are as good or better than what I can mix.
Here are a few greens that I use regularly:
Cad Green Light - Williamsburg - A nice mid-tone spring green.
Olive Green - Winsor Newton - A luminous, transparent, very dark, grayed down green.
Cinnabar Green Light - Old Holland - Another beautiful spring green.
I hope everyone enjoyed this mixing series. Please email me with requests!
Stay healthy and safe,
Angela
Studio Safety in the New Year!
Hello Art Friends,
I am here today to share with you some tips that will keep you healthier while you paint. Here are my top picks to improve your work environment and health for the next decade by significantly reducing your exposure to Petroleum Products.
Chelsea Classical Studio Fine Art Supplies: I am so excited about this line of products. You can order a sampler pack to try them out in small sizes!!
No Carcinogenic Fumes
No Turpentine
No Petroleum
Need I say more. They have a line of Solvents and Mediums that are made from Lavender Oil. That’s it. Just be careful if you have allergies. Check out their website at https://www.chelseaclassicalstudio.com/
My Favorite products are:
1. Brush Cleaner
2. Lavender Spike Oil: this product can replace Turpentine but does have a strong smell. I use it for quick washes or layouts at the end of the day. It also cleans brushes well. Keep in a container with a lid for easy use and cover it up.
3. Fat and Lean Mediums: I use during the painting process just like any medium. The smell is mild and actually pleasant and not harmful.
A Few Other Tips:
Use Gamsol if Turpentine is necessary. I have been able to reduce my turps usage significantly with the above products, but if you must, Gamblin does a great job keeping products as safe as possible.
2. Res-n-gel by Weber is non-toxic alternative to heavy mediums and does speed up drying time. I use on top of thicker layers.
4. Wear Gloves!! Your skin does absorb the harmful chemicals in paints.
5. Ventilate your studio and run an air purifier that removes chemicals.
Happy Painting!!! Hope you love the Chelsea products.
Angela
My Color Story
Jumping Back in with a Fresh Start
Happy New Year to all!
I hope everyone had a fantastic Holiday Season. I know it can be hard to get back to work no matter what your work may be! I am going to offer up some of my top tips for getting back to the easel or whatever it is you do that inspires you.
1. Clean and Clear:
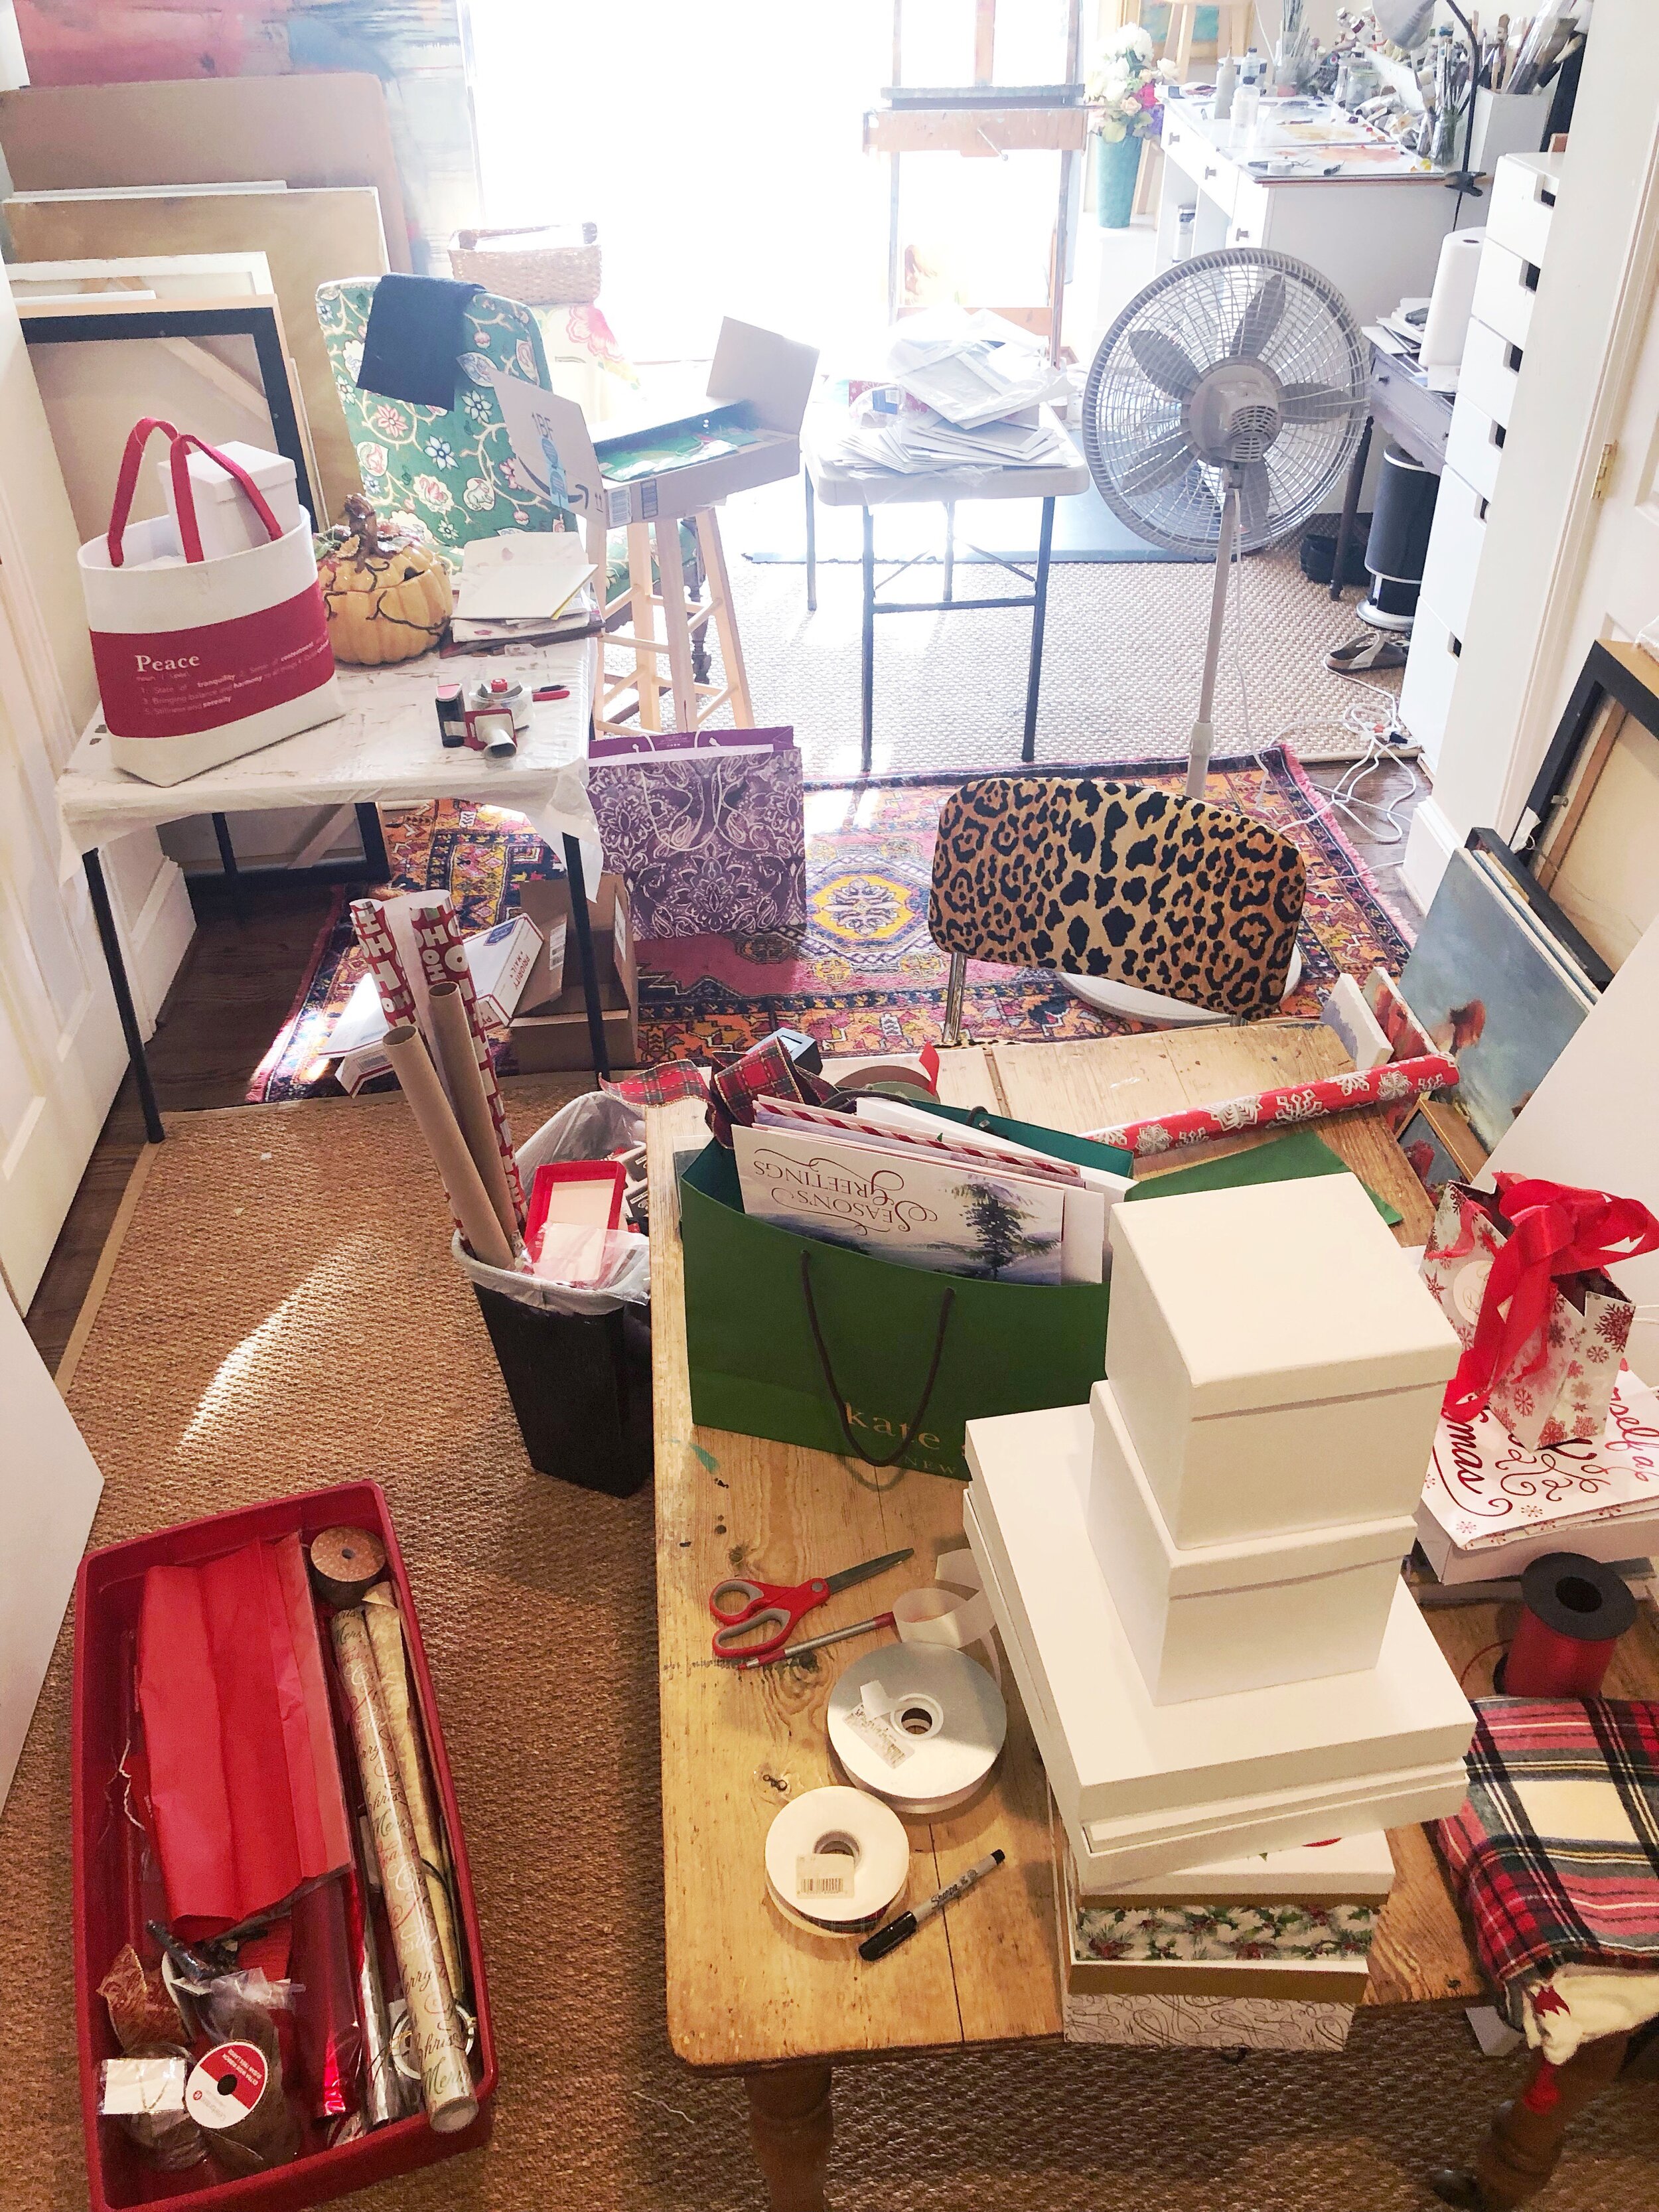
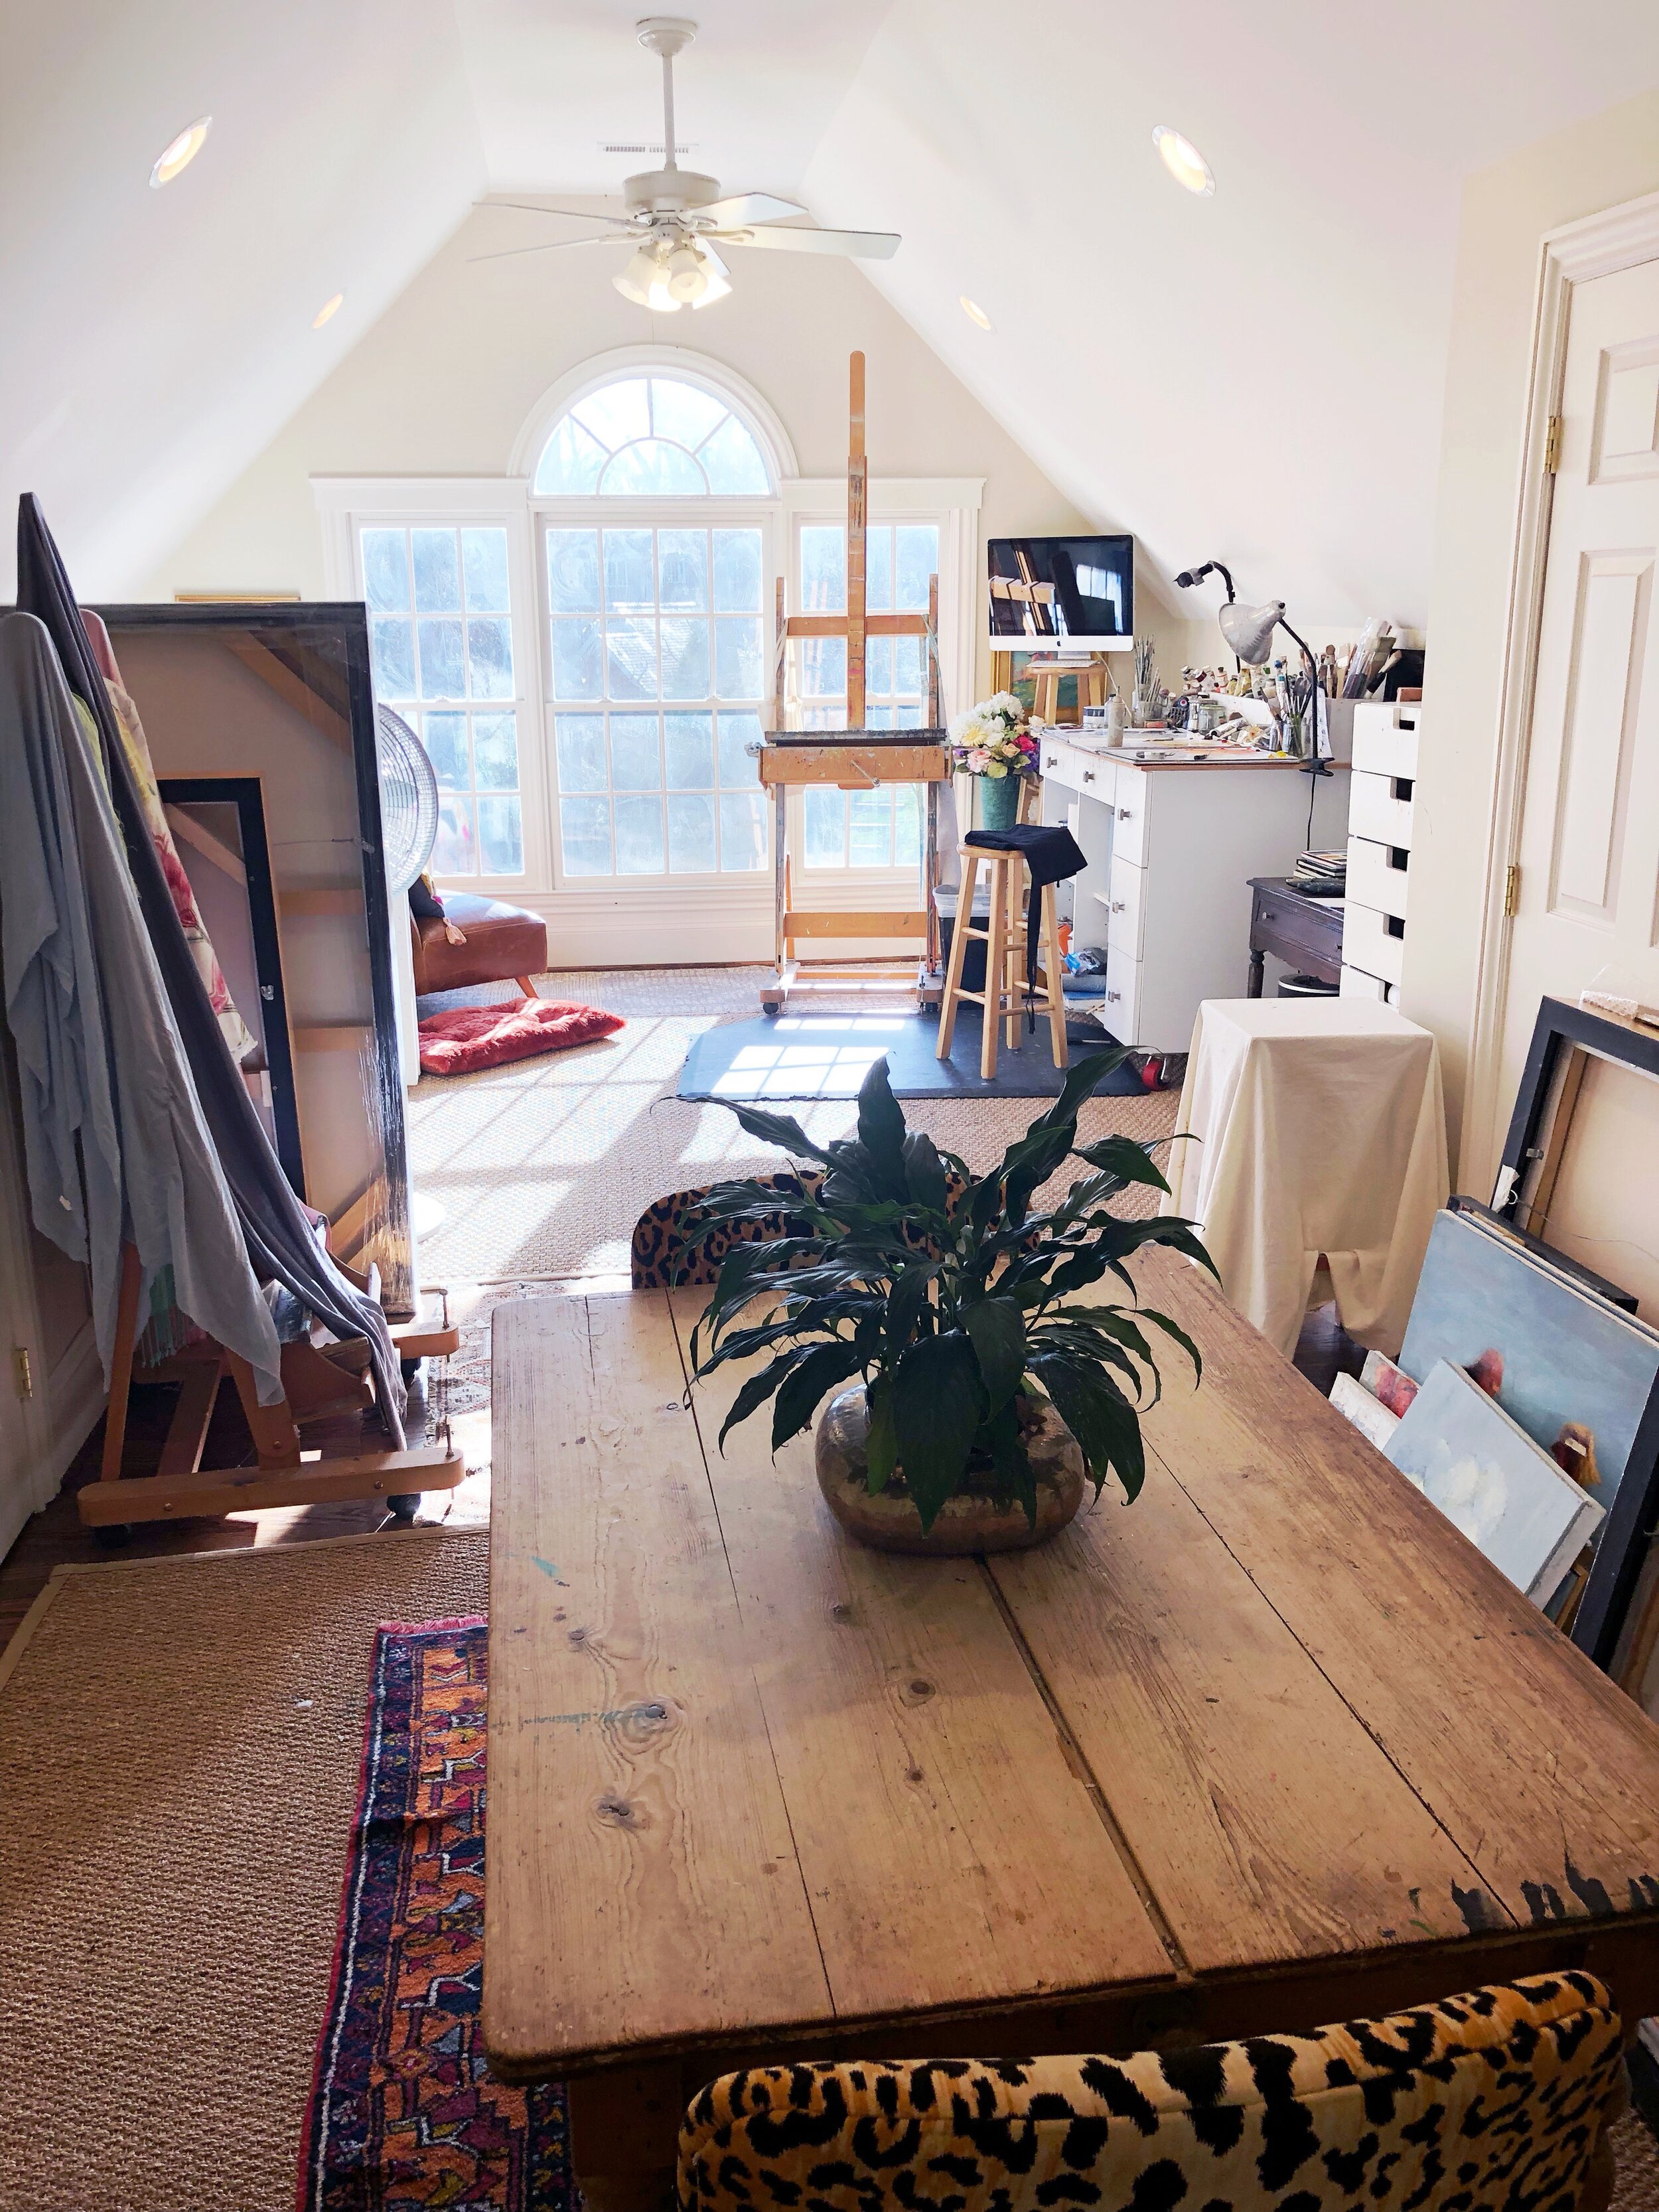
Whether it is your office, your workspace or studio, it is important to have a space you are excited to walk into every day. I know when I am working up to a break, like the Holidays, I usually end with a very big mess and I don’t always clean up before the break. Even if you do leave your space nice and tidy, a little clean and clear may still be in order. I went to work on my studio, my sitting area and my office. I wanted to make sure that everything in my space was needed and in working order. Get rid of anything that you do not need or is not serving you. Is there an old canvas that just makes you feel bad? Get rid of it. We are working towards only Good Vibes in our workspace. Hopefully, a good clean and clear will infuse a ton of positive energy into your studio and get you excited to get back to the easel (or work).
2. Purge Old Work:
Go through all the works in progress in your studio and get rid of anything that may be dampening your spirits! I went through every painting in my studio and tried to be brutally honest with myself does it stay or go. Each piece that stayed had to have a convincing purpose. I used charcoal to write on the side of each canvas the intention for it. Some of the categories were: love it - finish, toned, finishing touches, commission, underpainting and blank. Now I can look at the edges in my drying rack and know what I intend to do. I also made a note if a specific piece was suited for specific gallery or show. Now my mood feels so much lighter having disposed of all that was not serving me!!!! This exercise hopefully will also uncover some paintings that you are excited to get back to!
3. Spruce it Up:
Take a look around and note if there is anything you need or want in your workspace? Would a new plant be nice or a new rug? Do you need new lighting in your studio? I made a list during my cleaning and clearing frenzy and headed out to do a little shopping. It might only be a plant that would brighten things up! I have a huge window that looks out over my backyard and is really spectacular. The space in front of it has been cluttered with paintings drying and unfinished paintings. I cleared this out and added a new chair, rug and repurposed a bulletin board. Now this area is an inviting place to sit to contemplate a painting in progress or just have some tea. I also intend to use this space to reflect on my work and what is to come. The bulletin board is a great place for ongoing inspiration. A little spruce up will certainly light a little more creative energy under your toes and get you back to work!
4. Take Stock of your Supplies:
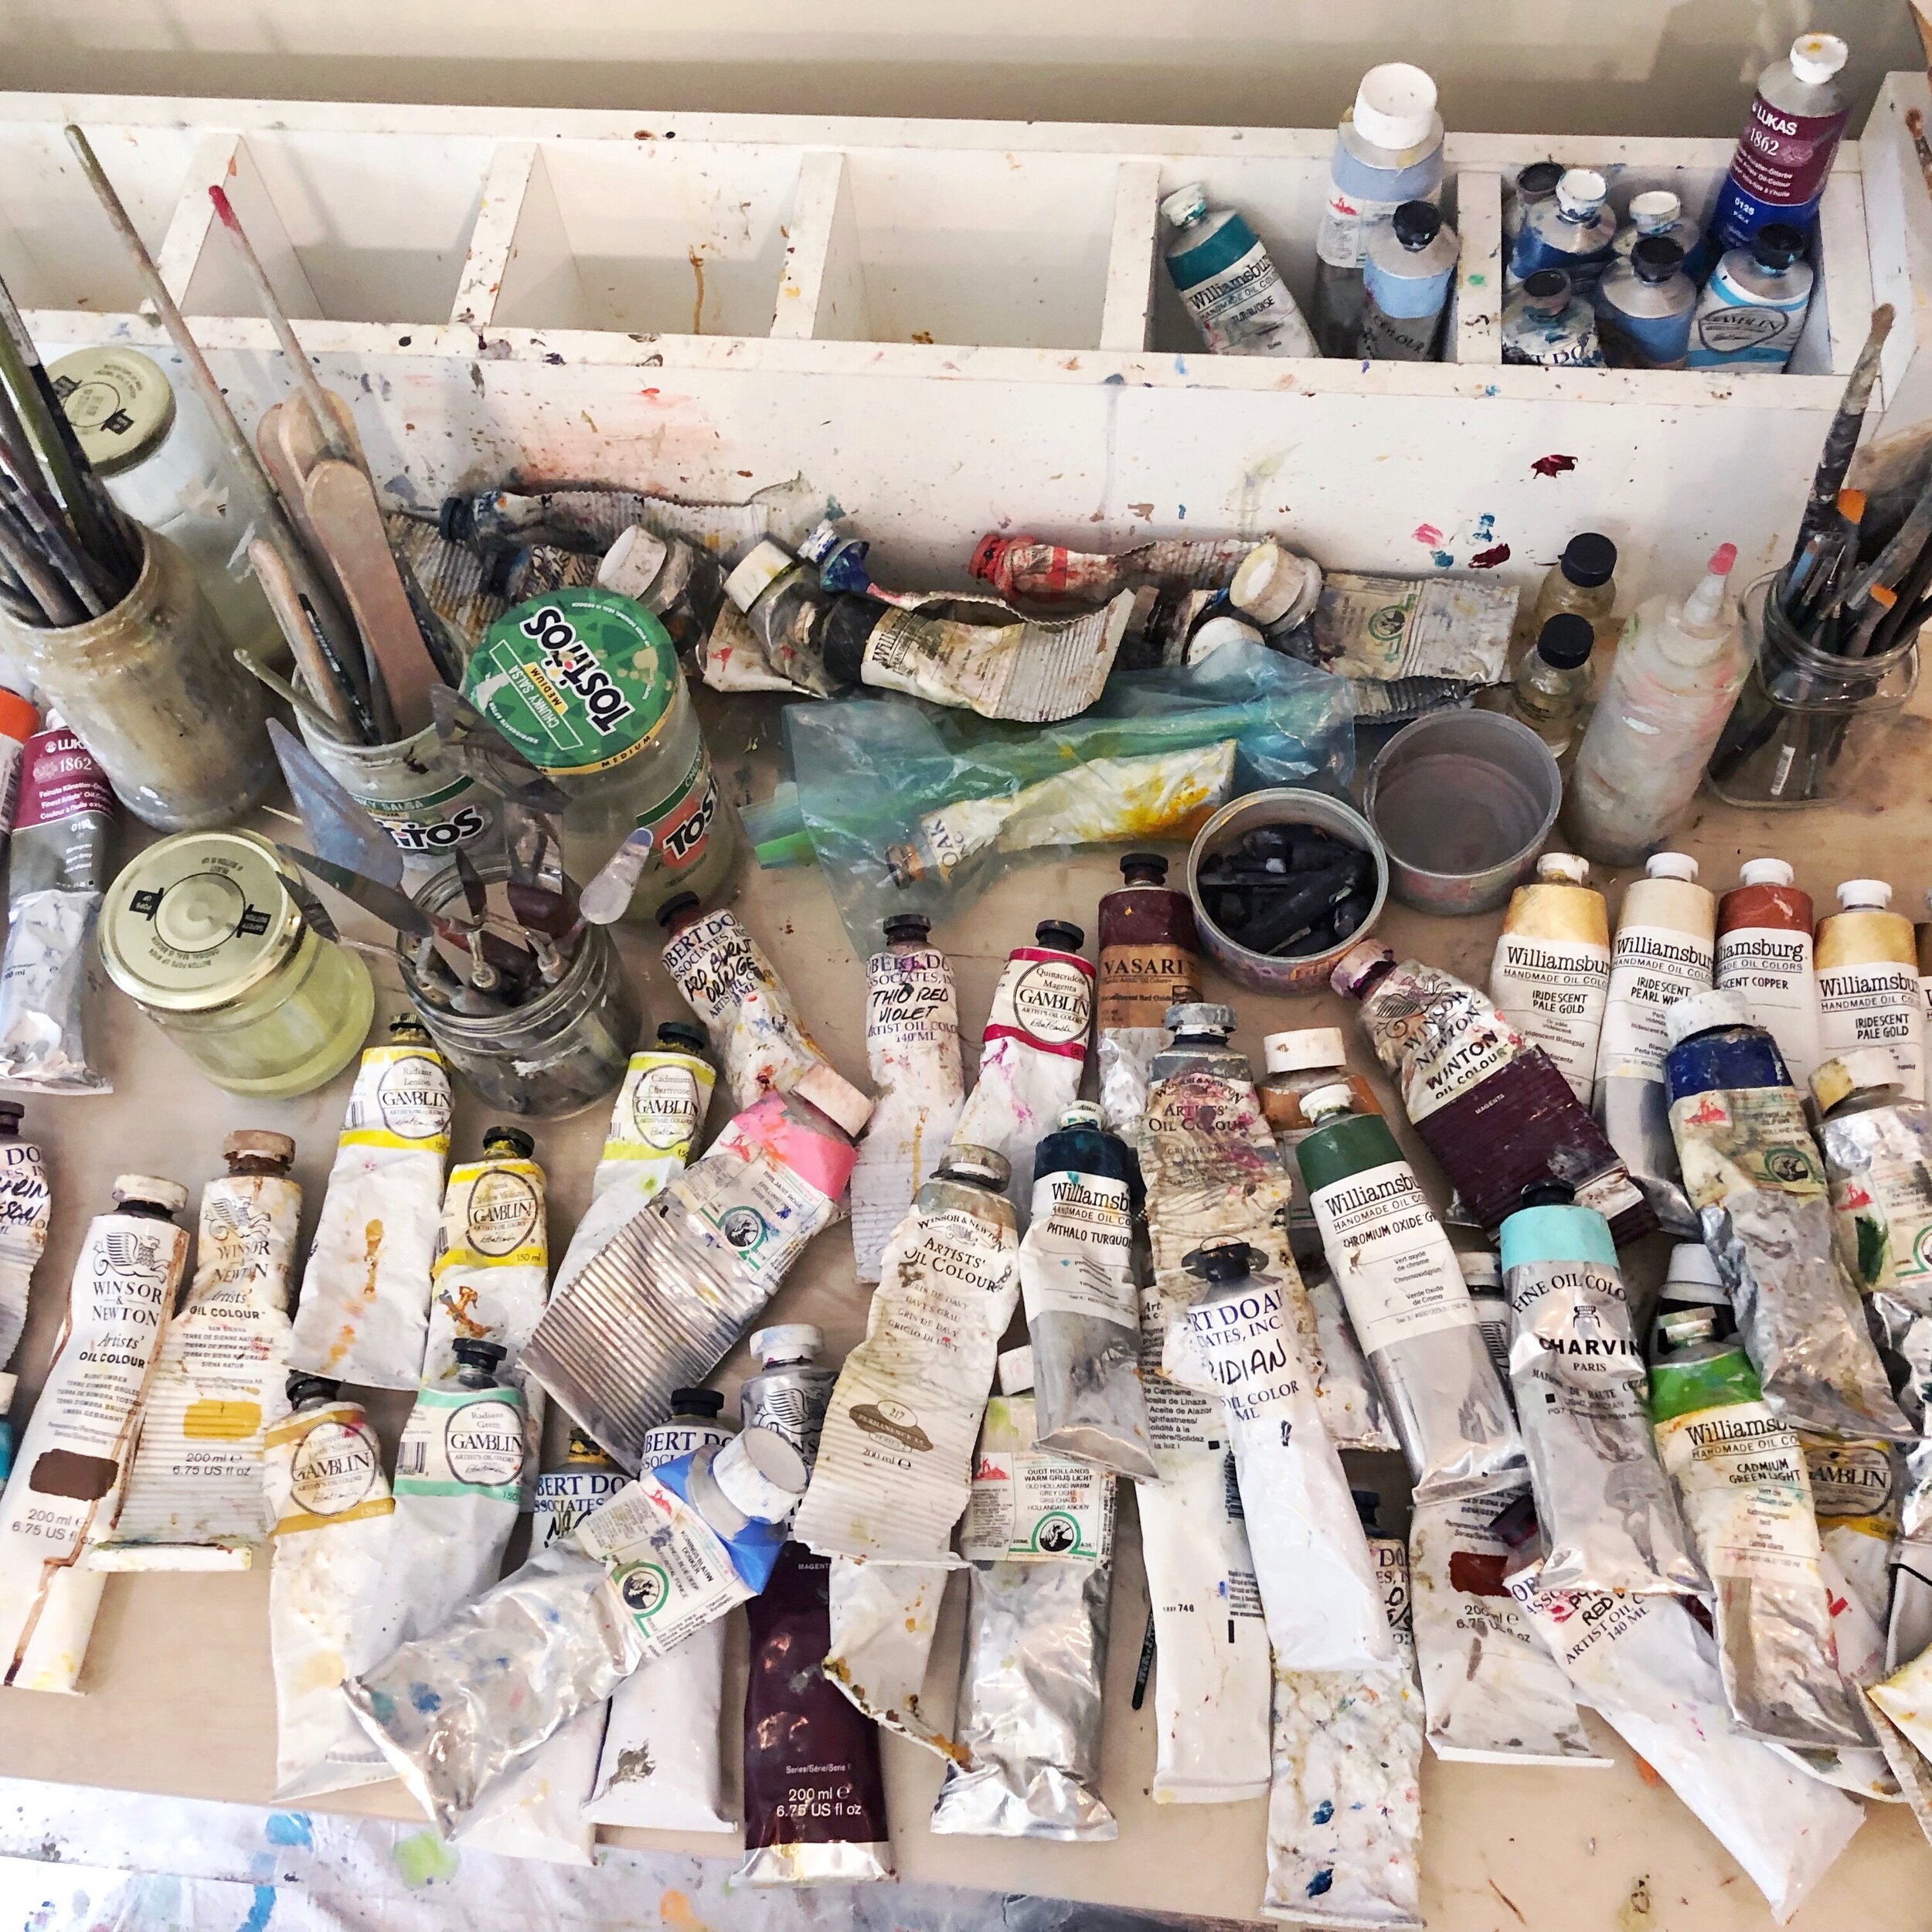
Whatever your creative work may be, I find it very exciting to organize my art supplies. I love tubes of paint! Just sorting through my paints and organizing them can get me in the mood to get back to the easel. It is also a great exercise to see what you are out of and might need to order. Make note of those abandoned paints that you excitedly bought and never used! I pulled a few out and put them on my work station to use first thing! I will be revisiting Old Holland Blue, Old Holland Blue Grey and Vasari Video Blue Extra Pale. So much fun! At the very least I am excited try these colors out.
5. Retail Therapy:
A little retail therapy can certainly cure the blues. Go shopping online or to your local art supply store. Take a leisurely browse! Are there colors, tools or types of surfaces you have always wanted to try? Go for it! This can be a great way to Jump Start your reentry to the studio. During my break I ordered some collage materials for a project I have been thinking of for a while. I am super excited to give it a whirl.
6. Think Ahead:
When wrapping up before a break from the studio try to play it forward and leave yourself with something you are excited to get back to. This takes some planning but really makes getting back to work super easy. I briefly started a series during the Holidays that I really had no business starting because of other painting deadlines. But I am soooo happy I did! I am psyched to continue on this new series!
7. Inspiration:
Get inspired! Collect images of artists that inspire you, color palettes you want to try, interesting compositions, new techniques to play with, take a workshop or just buy fresh props for still life set-ups. I often go to the florist and buy a bucket of flowers. Arranging the flowers and photographing for future paintings does a great job of getting the juices flowing. I also signed up for a workshop in late January to make sure my creativity is in full bloom for the New Year!
8. Make a play list and Breath:
If all else fails in the New Year to get you back at the easel make a play list of your favorite songs and breath! Music has a magical way of switching my brain from the left side to the right. There are lots of activities that can do this like mixing paint, drawing and doodling. Get your sketch book out, light some yummy candles, breath, play your favorite music and just doodle. I can honestly say that I tried all of these tips over the past week and I am so excited to get back to work!!!
Here’s to wishing everyone a Healthy, Creative, Abundant and Happy 2020!
Lots of Love,
Angela
My Color Story
Tuscany Open House & Open Studio - Wednesday November 13th
Wednesday November 13th from 11am – 2pm I will be hosting an Information Open House in regards to my upcoming trip to Tuscany as well as an Open Studio. If you cannot make it and are interested in coming by we can arrange a time, just let me know. Please RSVP by clicking here.
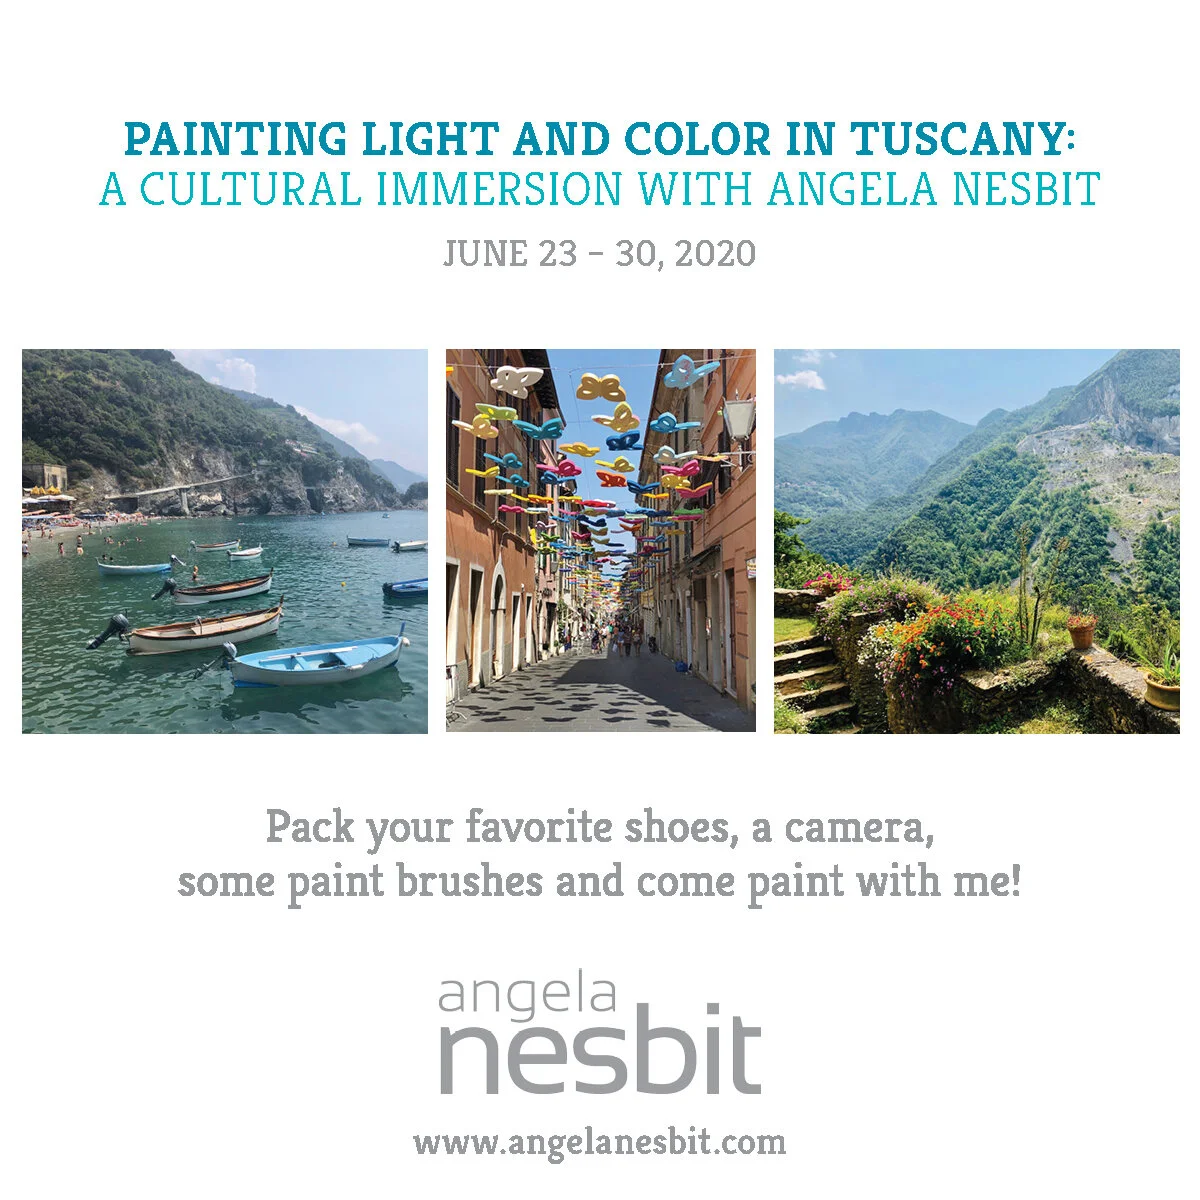
Highlights of the trip: We are staying and traveling in an unspoiled area of Tuscany near the Coast. The food prepared by our host family is incredible, fresh and seasonal. We will paint the gorgeous countryside, street scenes, coastal scenes and vineyard landscapes to name a few. We will also have day trips which may include, a vineyard, Cinque Terre, the walled city of Lucca and a fabulous Market in Forte dei Marmi. The Market in Forte is a must do, they sell everything from luxurious cashmere, to beautiful shoes, to wonderful gifts to bring home to friends and family. All levels of painters are welcome. The trip will not only be painting but enjoying the culture. We will provide tons of information about traveling with paints and what gear to bring so no worries there.
Tuscany in June
Pack your bags, grab your painting gear and immerse yourself in the breathtaking world of Tuscany. Experience Plein Air Painting in many gorgeous unspoiled towns, as well as, enjoy a cultural experience with our amazing Italian host family at their Villa, Montorno. All levels welcome!
Read MoreNew Charlotte Workshop - February 2020
Happy first day of fall!!! It's been a busy summer full of travel and send offs and it's all been wonderful!
I have a few Workshop related bits of news I wanted to share with you all:
Updates, Updates and More Updates
Hi Friends,
It’s been a long winter and spring helping to prepare my daughter for her high school graduation and attending lacrosse games and tournaments with my son, who has completed his freshman year in high school.
I’ve been enjoying my summer so far and am looking forward to beach trips, more tournaments and sending my daughter off to college in August.
In the studio, I’ve been working on a new group of small works that are now available online. We’ve also been working on our fall schedule for workshops and have some exciting dates to announce!
Exploring Color: Charlotte: September 9 – 11
This will be a small class limited to six students and held in my studio
Still Life & Figure: Beaufort, NC: October 7 – 11
Held at Craving Art Studio
Exploring the Surface: Charlotte: October 22 – 25
Once again, we be at the Youth Hall at Myers Park Baptist Church
I look forward to seeing everyone soon and wish everyone a wonderful summer!
Best,
Angela
Color Boot Camp
So excited to be teaching again in Charlotte this spring and even more excited to be teaching a Color Boot Camp Workshop! The workshop will be held May 2 - 4 at Myers Park Baptist Church in their Youth Hall. This isn't going to be another one of those boring old workshops, I promise to make these three days fun and filled with color exploration from several different approaches. We will be completing several smaller paintings as well as a some larger studies. To register and get more information, click here.
Tuscany Workshop This Summer
Come paint with me in Tuscany this summer! All levels welcome!!! Get all the details, clicking here.
Come Learn With Me
October is such a beautiful time of the year in Charlotte, which makes me excited to be hosting my next workshop October 25-27, 2017. Class is filling up fast though and we only have a few spots left. We would love to have you join us, to get more information and to register, click here.
In February I am looking forward to heading south and visiting one of my favorite cities! I will be traveling down to Atlanta for my first workshop of 2018 at Binders Art Supplies in Buckhead. My Atlanta workshop is running February 7-9, 2018 and space is limited, to get more information and to register click here.
Can't wait to see everyone!

